If you bought one or more of the CivilFEM ACT Check & Design Apps for Workbench directly to INGECIBER (instead of buying them from the ANSYS App Store), then a LM-X license file is required to work.
There are these kinds of LM-X licenses:
· Local license, which requires a node-locked license file (intended for the usage in one specific local computer).
· Network Floating License, which requires a license server installation (intended for the usage in computers of a local network).
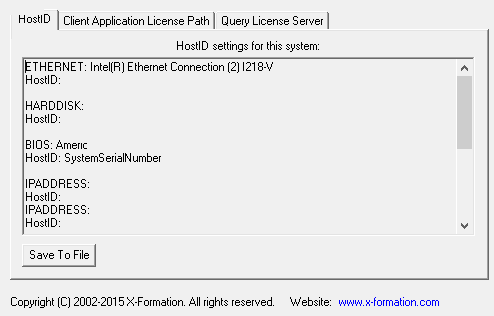
In order to attach your license to a specific computer (for a local license) or to a specific server (for a network floating license), please download the LM-X Configuration Tool (click this link) and run the tool in the machine in which you will have your CivilFEM license, and generate the Host-Id information file with it: select the “HostID” tab and click “Save to File”.
Then, send the generated file to secretariat@ingeciber.com and the CivilFEM license file will be sent back to you.
License Configuration Window
To access the license configuration window in Mechanical it is necessary to have the CivilFEM ACT extension active:
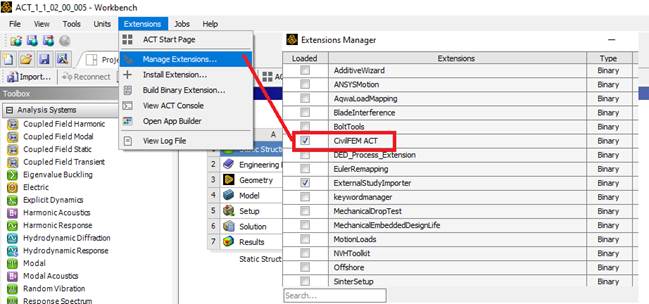
When you access Mechanical with CivilFEM activated for the first
time, the window should appear automatically. Otherwise, the CivilFEM tab
should appear visible, with the "Licensing..." button, and if this is
not the case, you must make sure to activate its visibility in the ribbon
configuration. 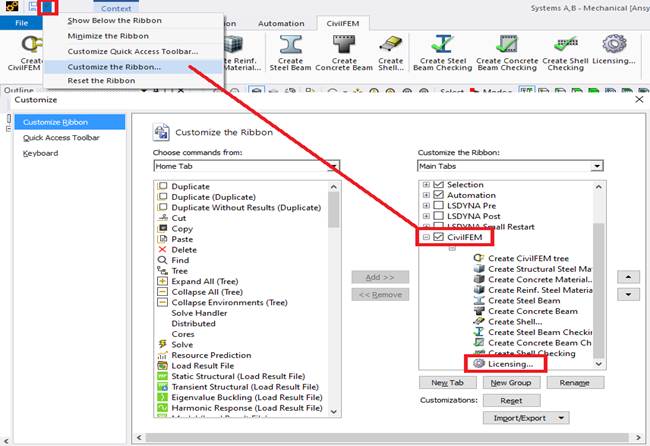
In this way the window will appear by pressing the "Licensing..." button:
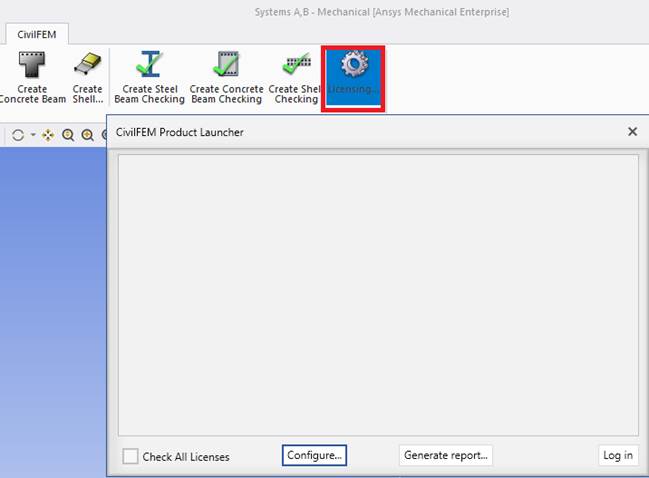
The "Configure..." button allows you to add local licenses or connect to a local network license server.
The "Generate report..." button generates a file with information that you can send to civilfem@support.com if you have problems installing the license, and thus make it easier for us to find the cause.
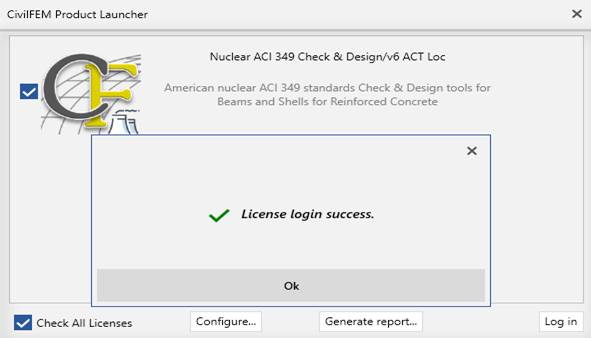
The "Log in" button allows you to take the licenses selected in the window.
Local License
To install the local license you have to select the file after pressing the "Add Local File..." button.

IMPORTANT NOTE: The local files must be kept in that path in order to work.
An entry with the license is generated. This entry can be edited or deleted. And more can be added.
After pressing the "Save" button, you return to the initial licenses window in which the available ones in that file will appear. If they are selected and the "Log in" button is pressed, those licenses will be activated.
Network Floating License
To install the network license, you must specify the name of the server and the port to connect to after pressing the "Add Server..." button.
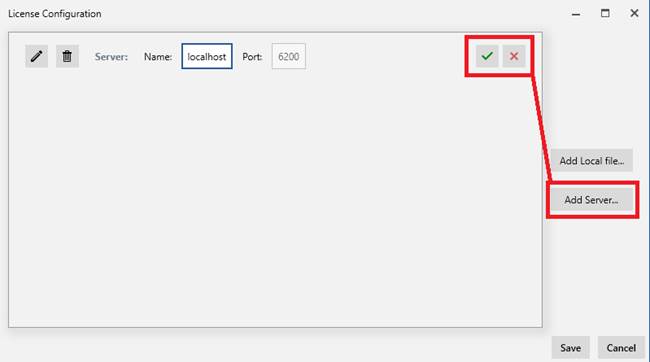
An entry is generated with the connection to that server. This entry can be edited or deleted. And more can be added.
After pressing the "Save" button, you return to the initial window of licenses in which the available ones on that server will appear. If they are selected and the "Log in" button is pressed, those licenses will be activated.
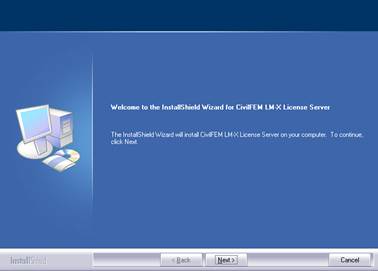
Server Installation
The CivilFEM LM-X License Server is required for CivilFEM licenses to work, that can be downloaded from the CivilFEM Customer Portal:
![]()
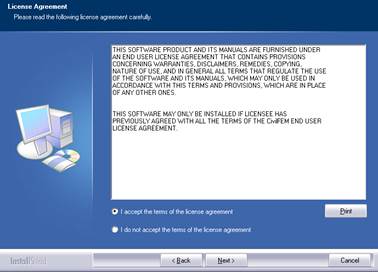
Welcome and agreement screens:
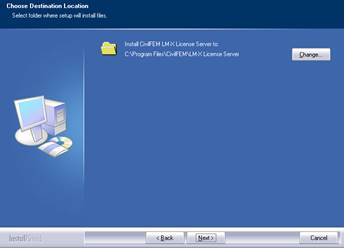
Installation directory selection:
Further installation process:
After the installation of CivilFEM License Server, new items become available on the Start Menu:
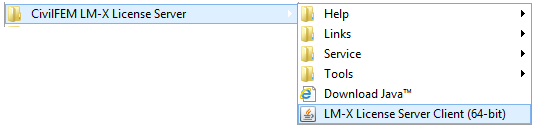
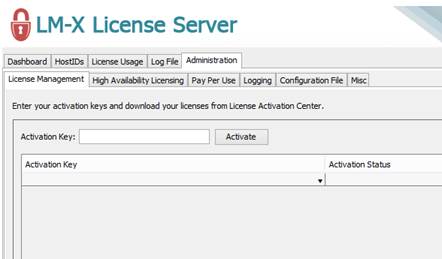
The server works as a Service and has to be started to be used. When the service is active, use the tool LM-X License Server Client (Admin password – MyPassword123) to install or update network license keys and to change the default password, selecting the Administration tab and Misc tab. Then set the new password and save (you may be asked to restart the server).
Note: The UI needs Java 8 installed.
Note: LM-X Server uses port 6200 by default. This port must be opened.
To add licenses, select the administration panel and push the upload licenses button:


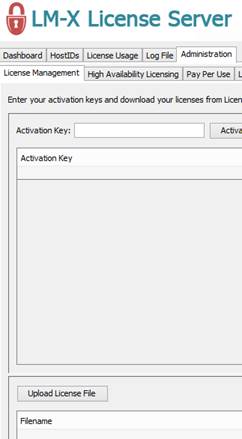
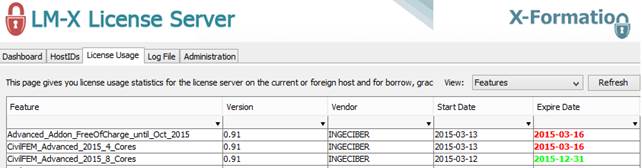
You may be asked to restart the server. After doing it, you can see the loaded licences selecting “License Usage” tab and “View Features”:
![]()
![]()